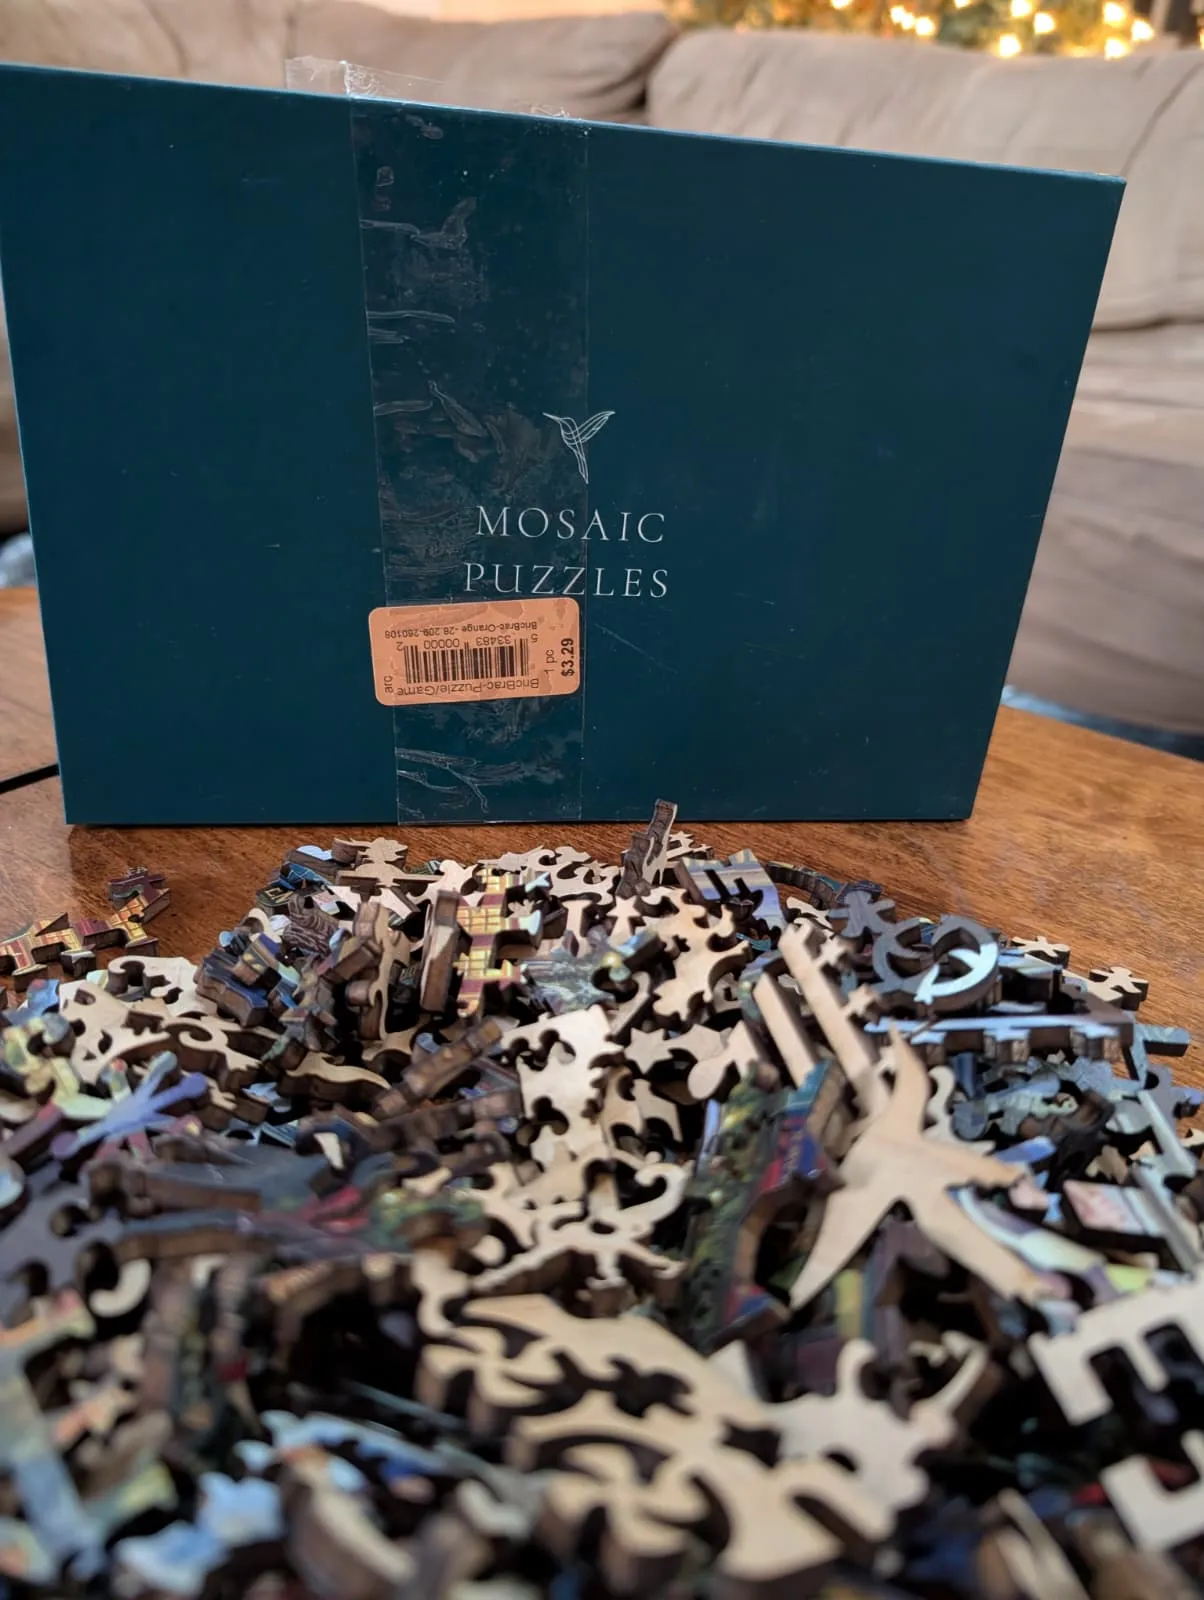
My wife and I have a soft spot for thrift store puzzles. The main drawback is that you’re really rolling the dice on whether or not all the pieces are actually in the box. But for a few bucks it’s worth the risk. This time we scored a Mosaic Puzzle for about tree fiddy. It’s hard to believe, but these things retail for around $100. They’re made out of wood, laser cut, and the pieces are made up of whimsical shapes like elves, stars, christmas trees, etc.
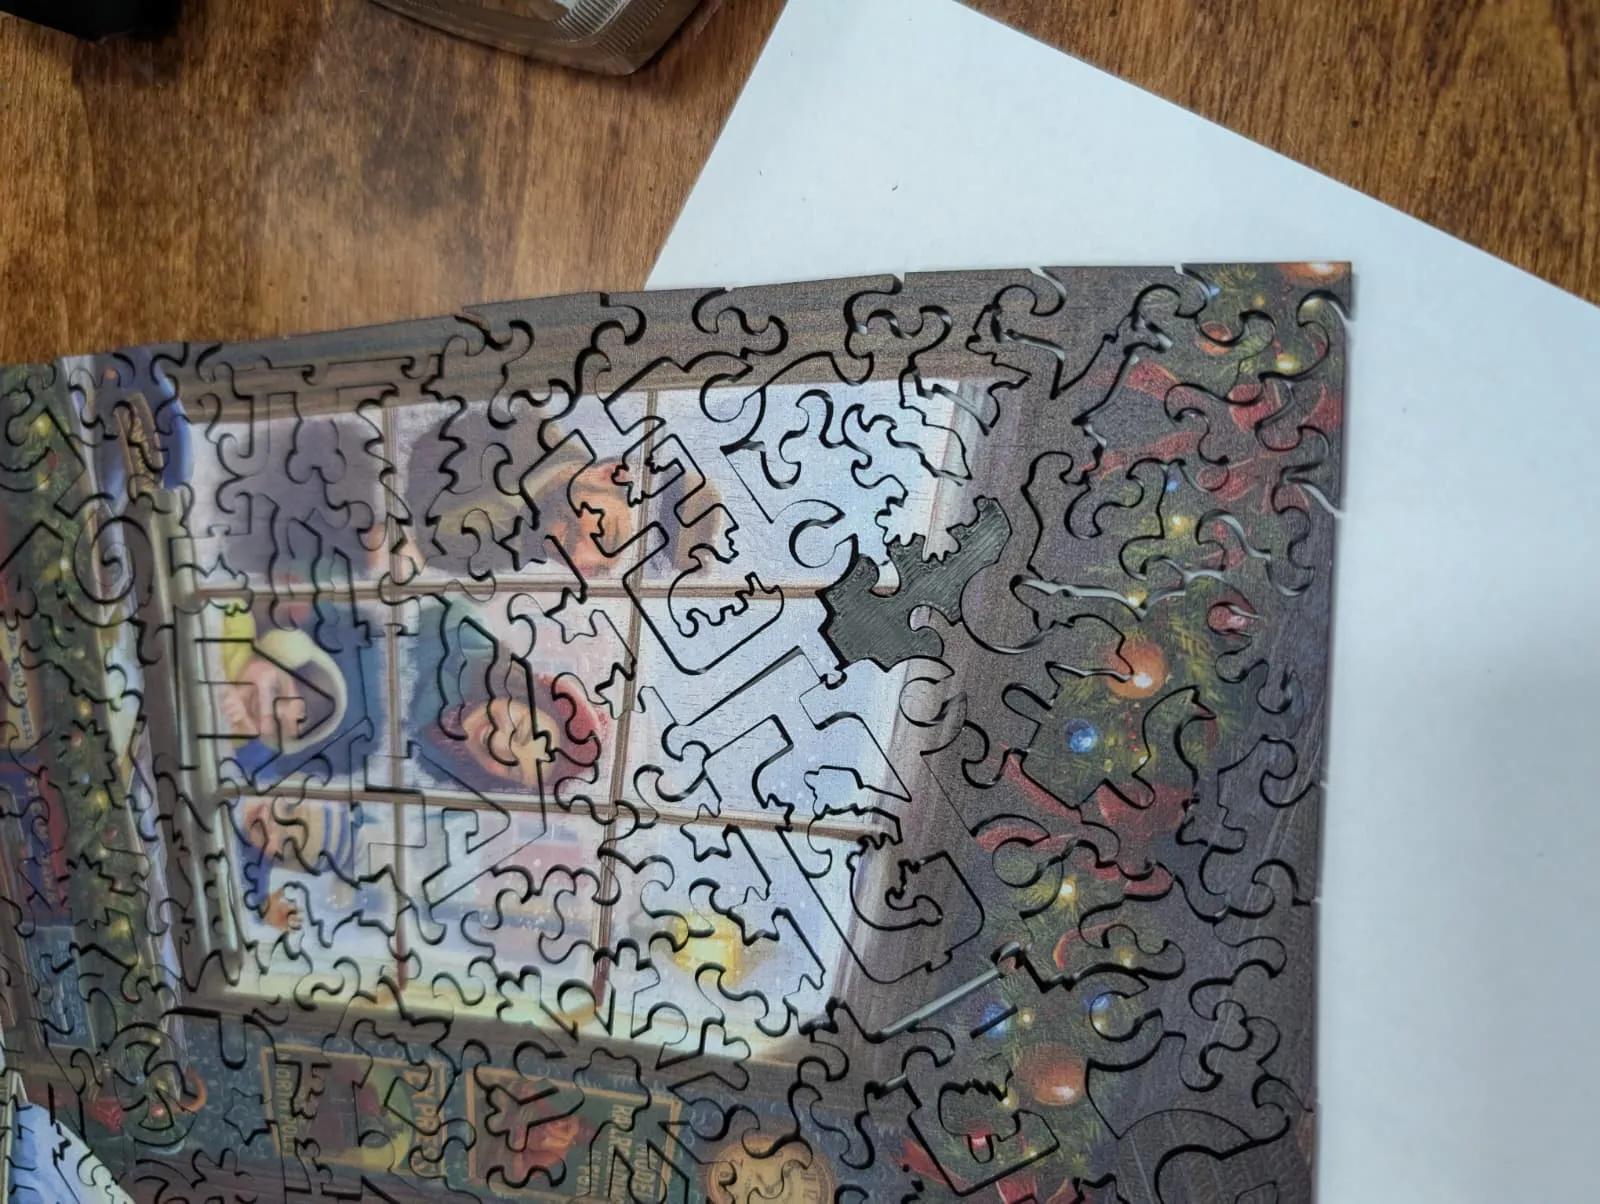
You can probably guess where this is going. We got all the way to the end and found exactly one piece missing. Normally that’s the moment you sigh, take a picture, and put the puzzle back in the box forever. But I own a 3d printer now, so I figured I’d try to get us the peak satisfaction of completing a puzzle by just making the piece myself!
More Complex Modeling Software
For my first few models I used TinkerCAD, which is great for projects with simple geometry. A puzzle piece with a bunch of organic curves is more tricky though. I’d tried and failed using OnShape once before. It felt way too complex for simple prints, but this seemed like a good project to try it out again. I had watched a Zack Freedman video on modeling parts from scratch a few weeks ago, and while his workflow is very advanced, I had the general principles in mind when approaching this problem.
The trick is getting photos with measurements so that you can ensure your model is close to the size you need in the real world. To make this easy to trace, I put a piece of white paper where the missing piece was and threw on a headlamp to give me as much contrast as possible around the empty slot. I also dropped a tape measure into the frame so I could have a real-world reference for scaling things inside OnShape.
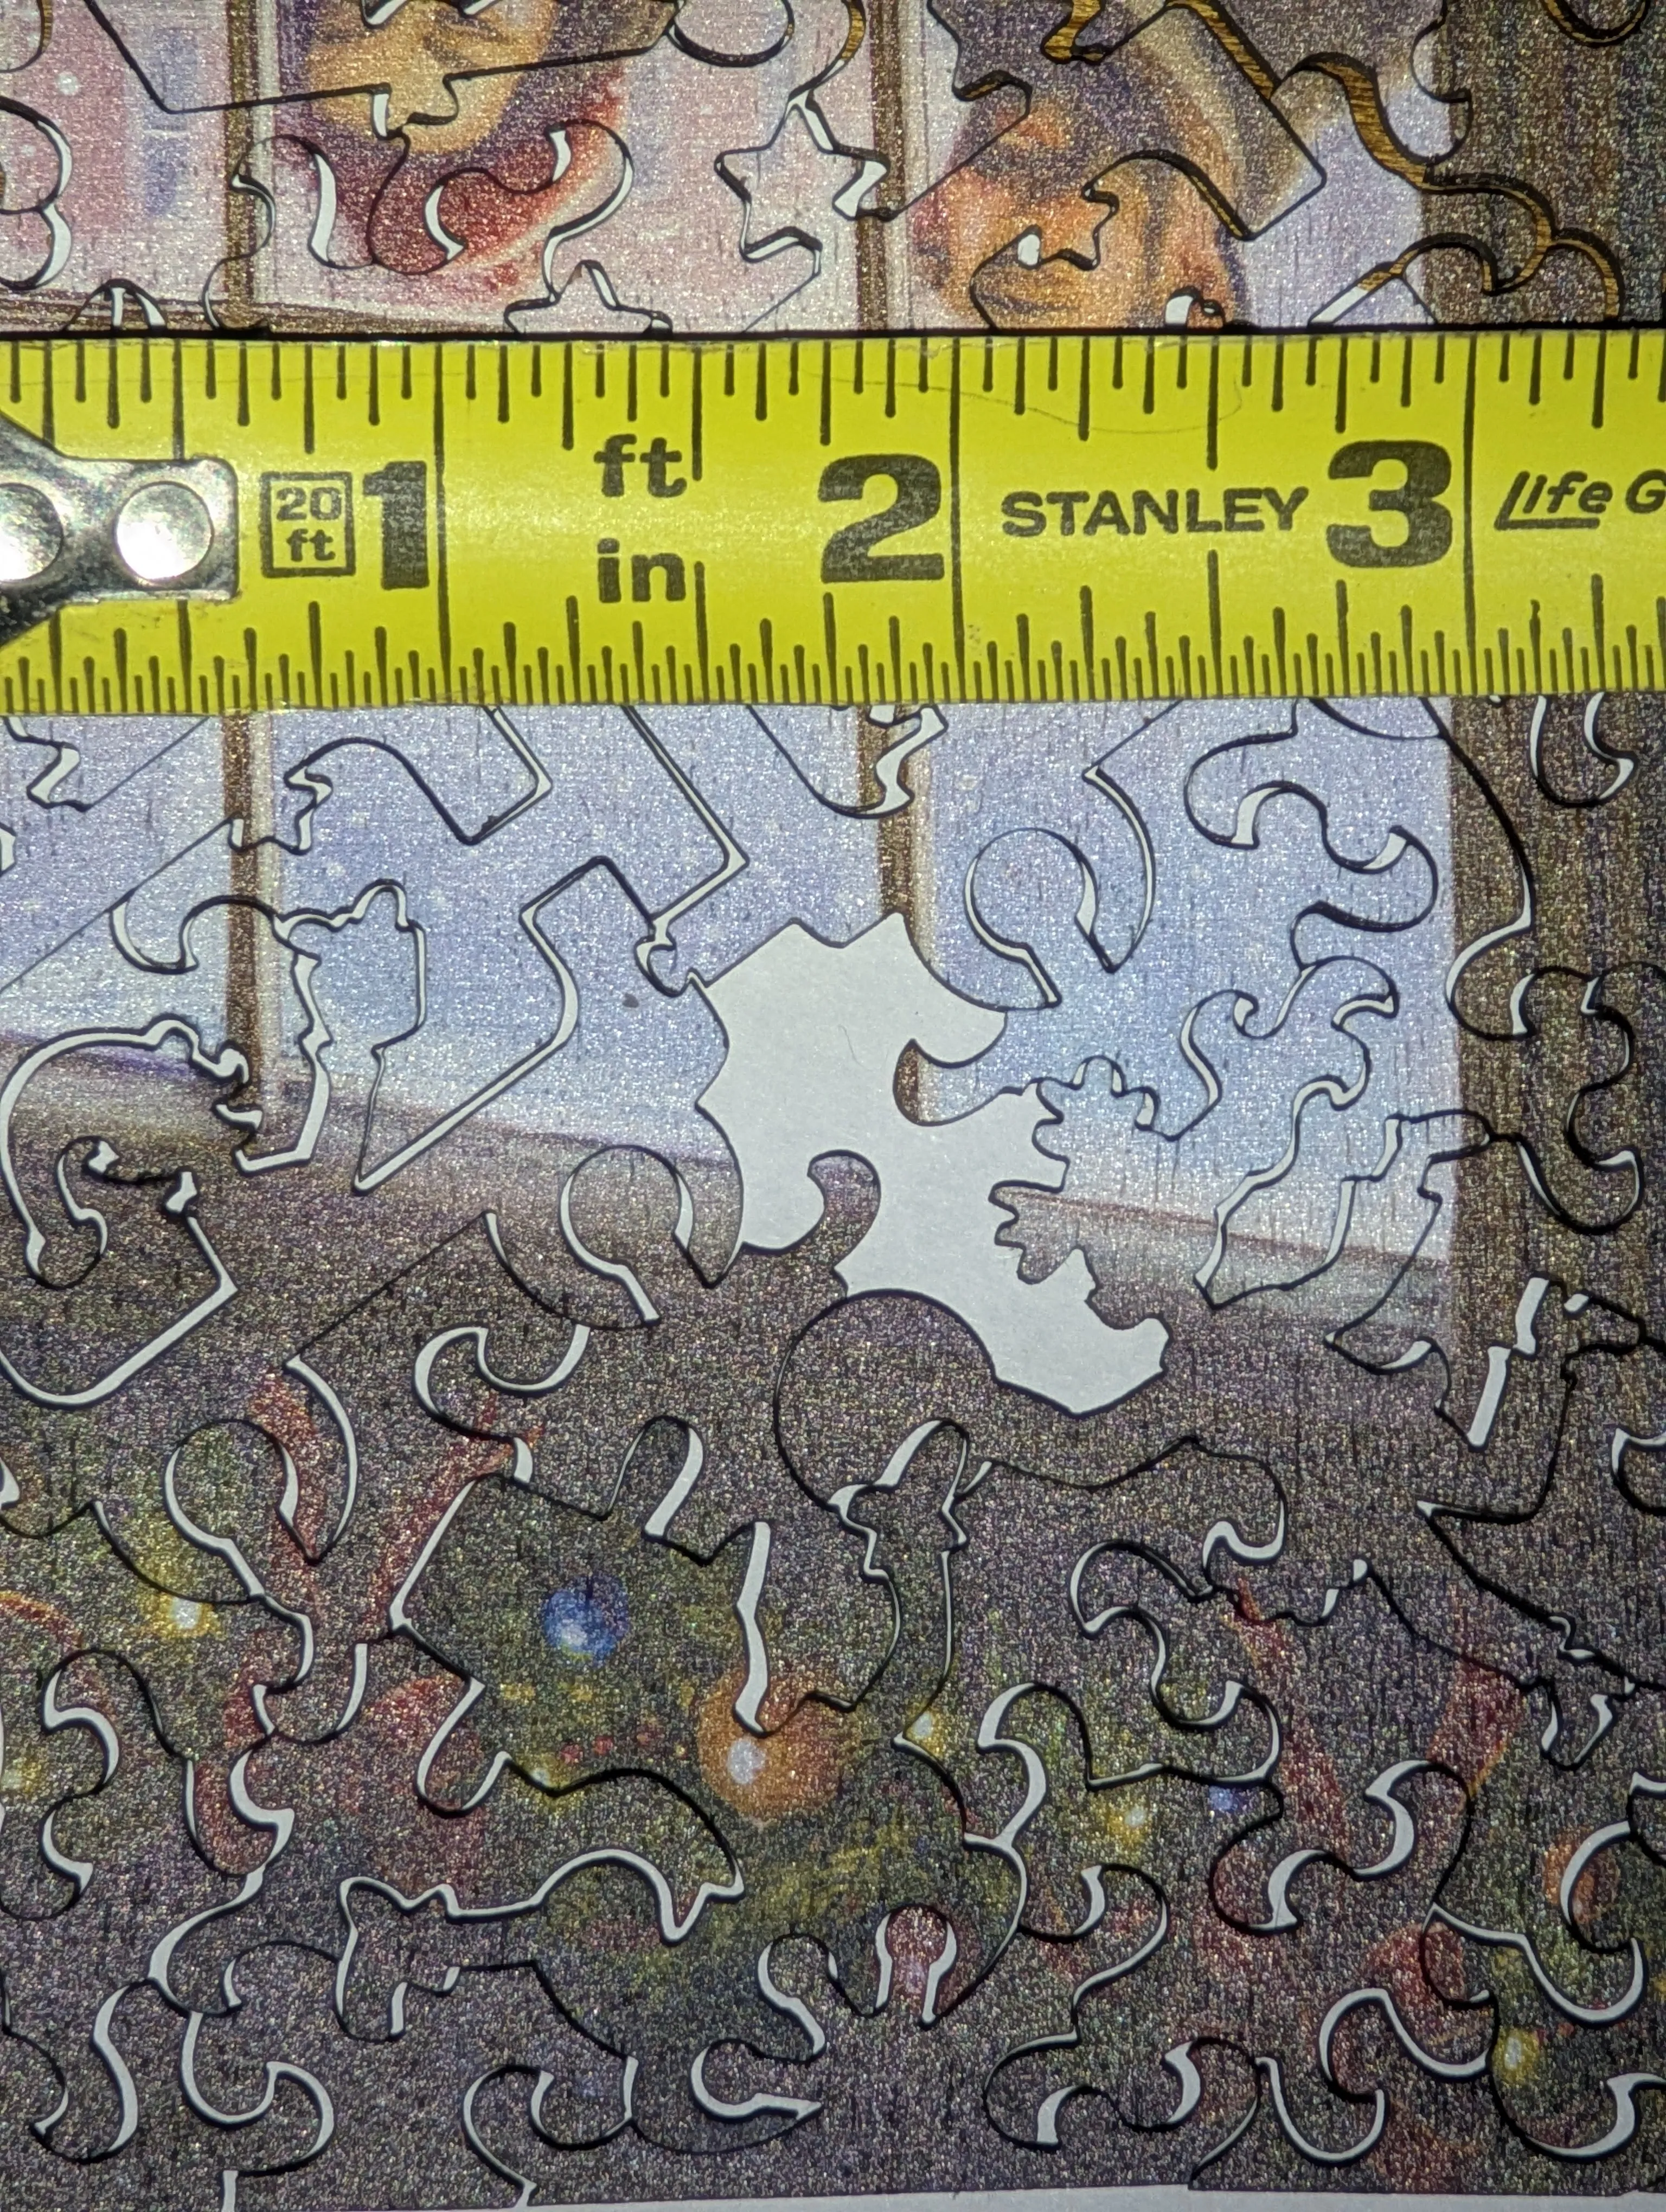
As you can tell, a puzzle piece is really just a 2d shape that you extrude a few millimeters, so you don’t have to deal with modeling multiple angles, cutouts, etc. So I found a couple of videos (this one and this one) specifically about importing pictures into OnShape and using them to trace out shapes. From a couple of photos with the tape measure in different positions, I came up with a bounding box of about 30x32mm. I cropped the photo tight so the piece filled that rectangle, imported it into OnShape as a reference, and used the spline tool to rough out the outline. Then it was a lot of zooming in and nudging control points till my perfectionist self was satisfied.
Brute forcing the fit
Unfortunately, my first print came out about 5x too big — somehow the geometry from OnShape wasn’t importing into Bambu Studio cleanly. I now have a comically large puzzle piece sitting on my bookshelf as a reminder. Thankfully the shape itself looked and felt great. I tweaked things until the model matched the OnShape measurements correctly, reprinted, and failed again — still too large by a decent margin. I’m sure I could have sat down and figured out where I’d gone wrong, but part of the beauty of 3D printing is that it is cheap, and you can throw away prototypes without feeling too bad about it. So I went full brute force: I printed 10 different copies, each 3% smaller than the last, and figured one of them had to be right.
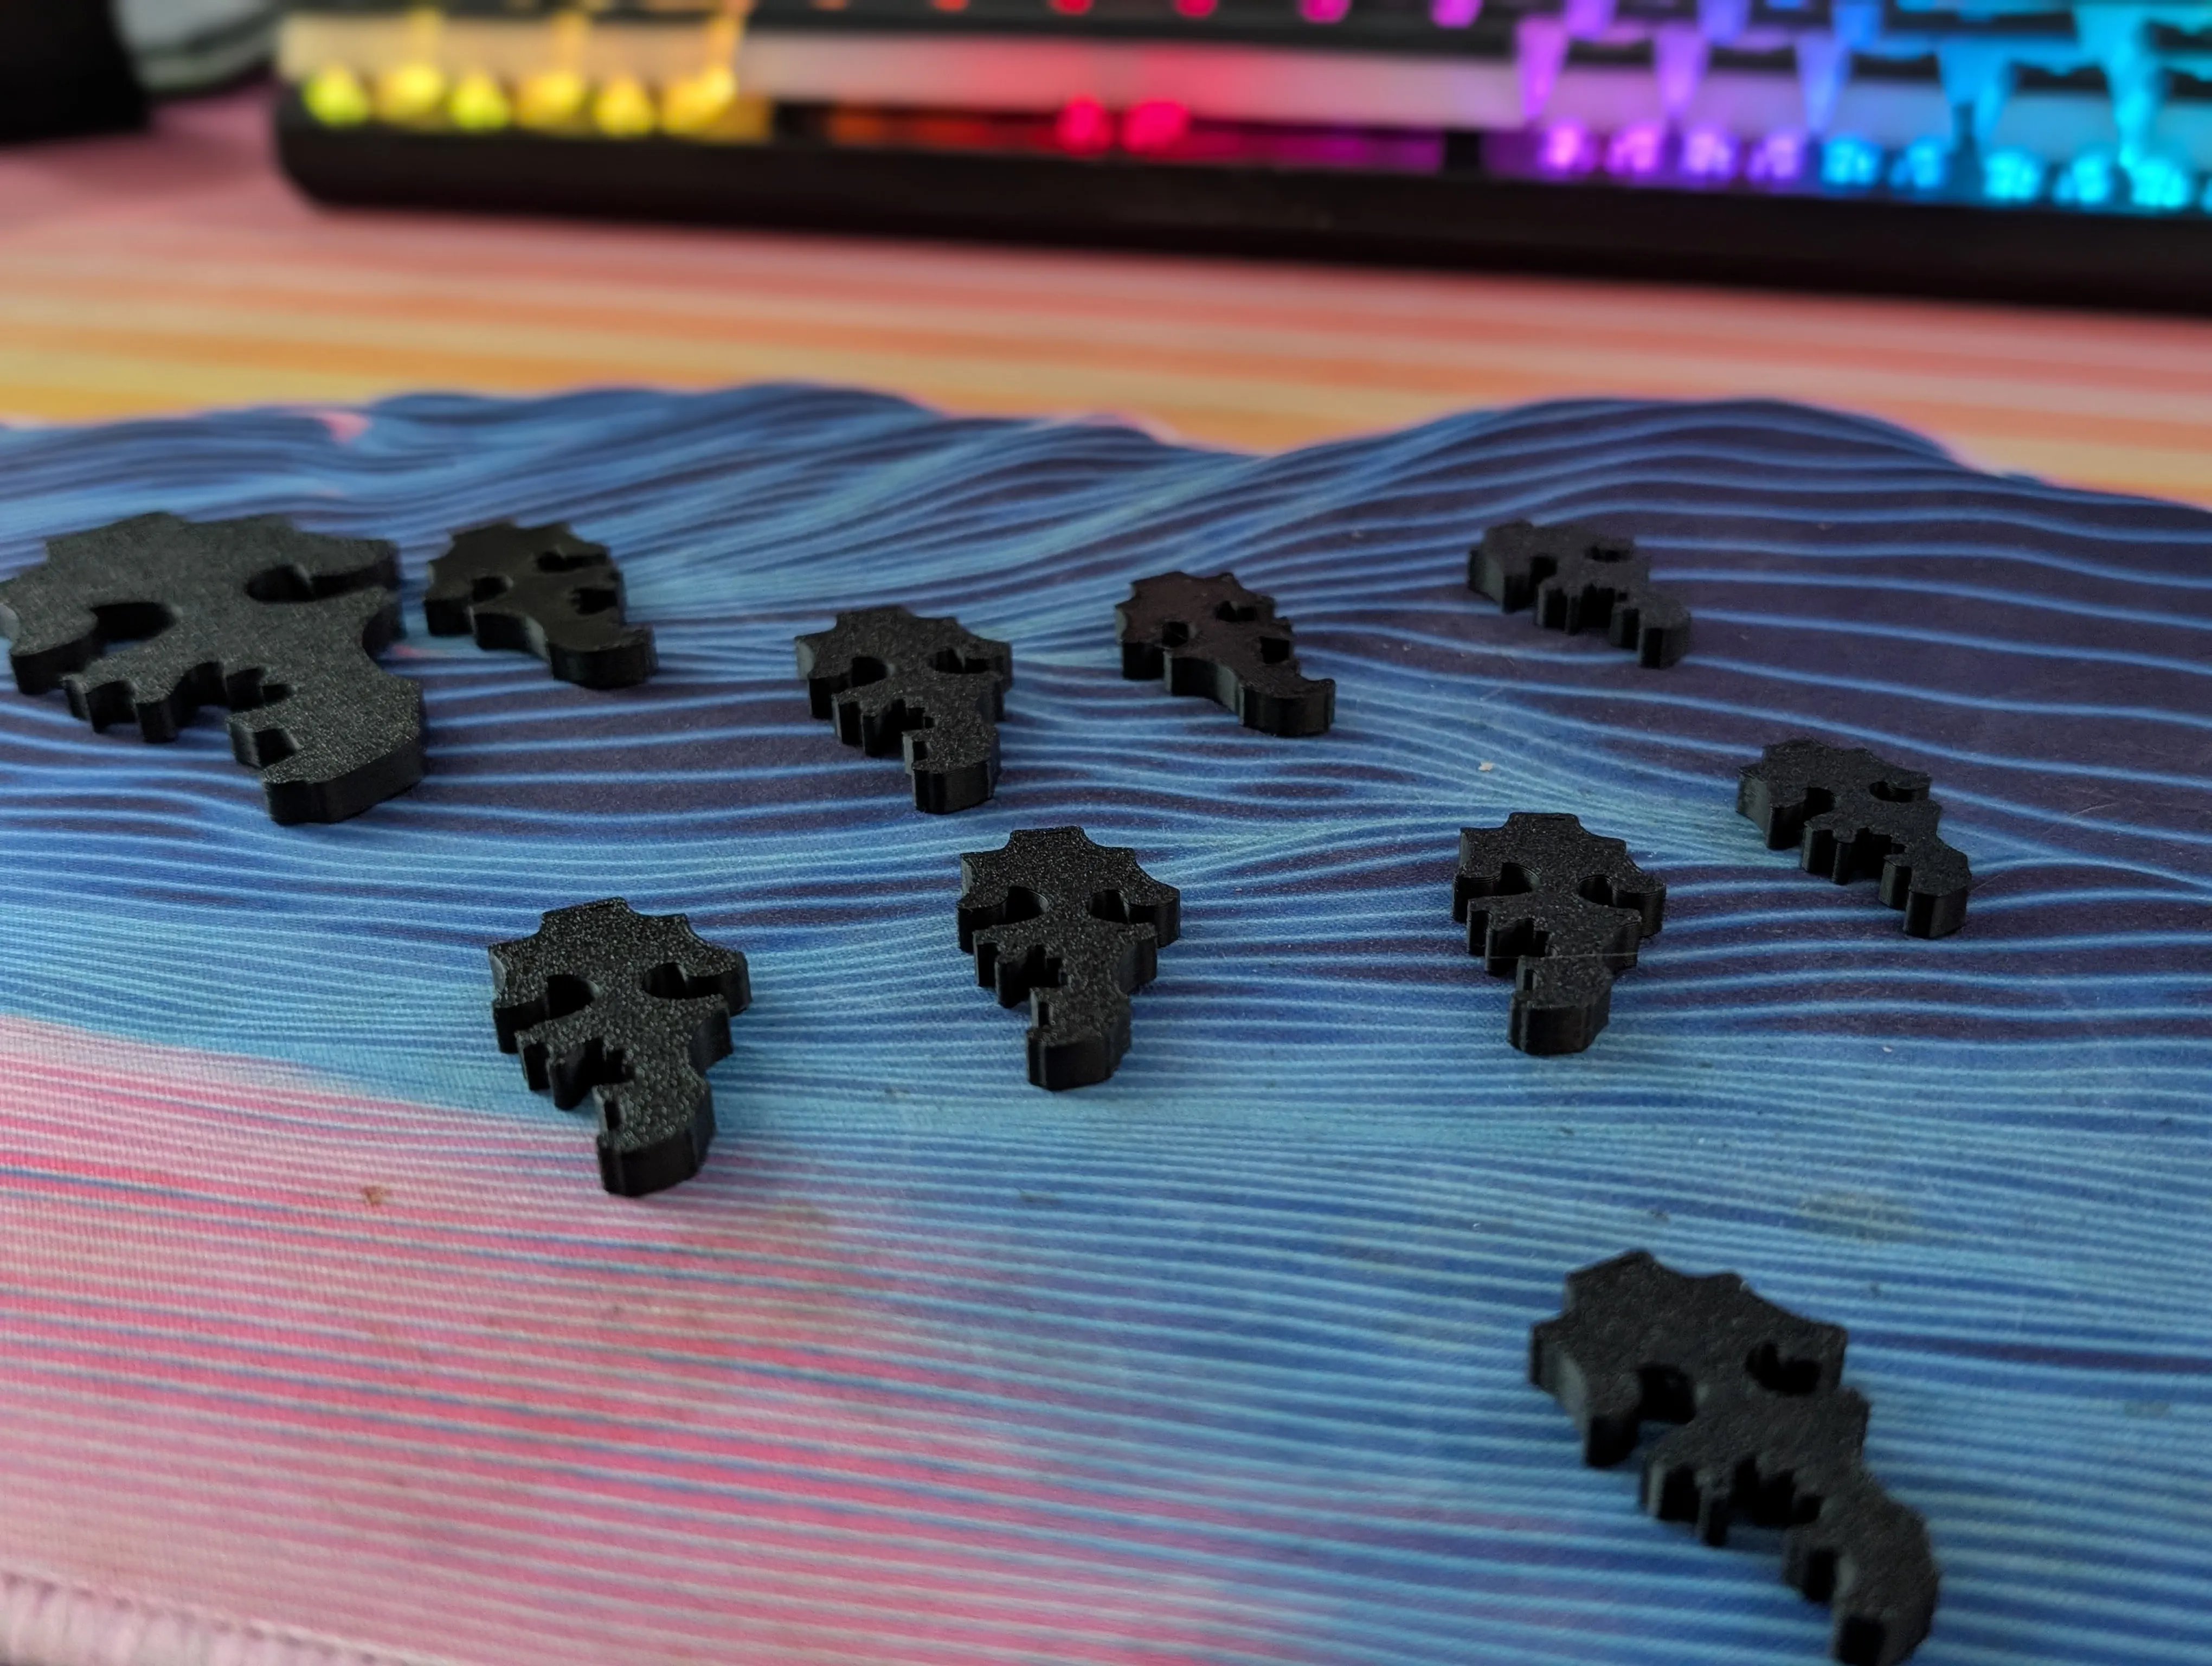
Sure enough, I found a winner! I’m pretty sure it was 18% smaller than the size OnShape told me it should be 😬 and it is still a tight fit, but I’m happy with it!
What I’d do differently
I definitely wasted filament by printing full-height test pieces when all I actually needed to test was the 2d outline. If I’d printed each test at maybe 1mm tall instead of the full thickness (and even hollowed out the center), I could have run tons of tests for the cost of one “real” print. Next time I need to dial in the tolerances like this, I’ll start with throwaway tests first, then one real print once I’m confident.
Now if only I knew how to paint it to match the rest of the puzzle instead of it looking like it represents the void in my soul…
Comments
Powered by Giscus (may need to disable adblockers)