Okay, so now that I’ve made my first useful thing from other’s generosity, I wanted to design something myself. Initially I tried out OnShape because I heard about it from watching StuffMadeHere videos, but I was quickly overwhelmed. I don’t have any experience with CAD tooling, and this was clearly something for the pros who are designing truly production ready products. My wife kindly asked Gemini for other alternatives, and told me to check out TinkerCAD since it’s more beginner friendly and should help enable me to focus more on my ideas than figuring out how to bring it to life. It immediately clicked better for me. Drag and drop shapes, resize them, and boolean them together with “holes” to shape complex parts.
The Project
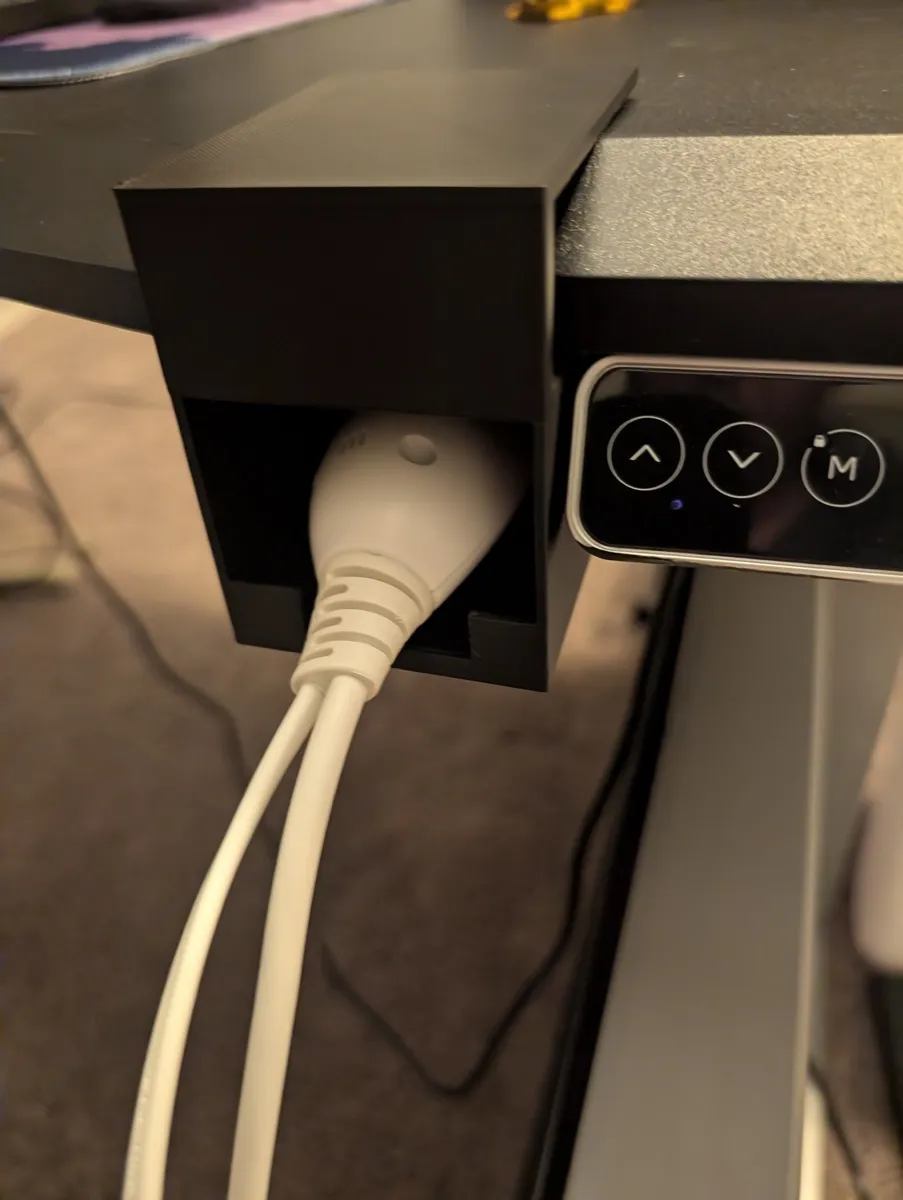
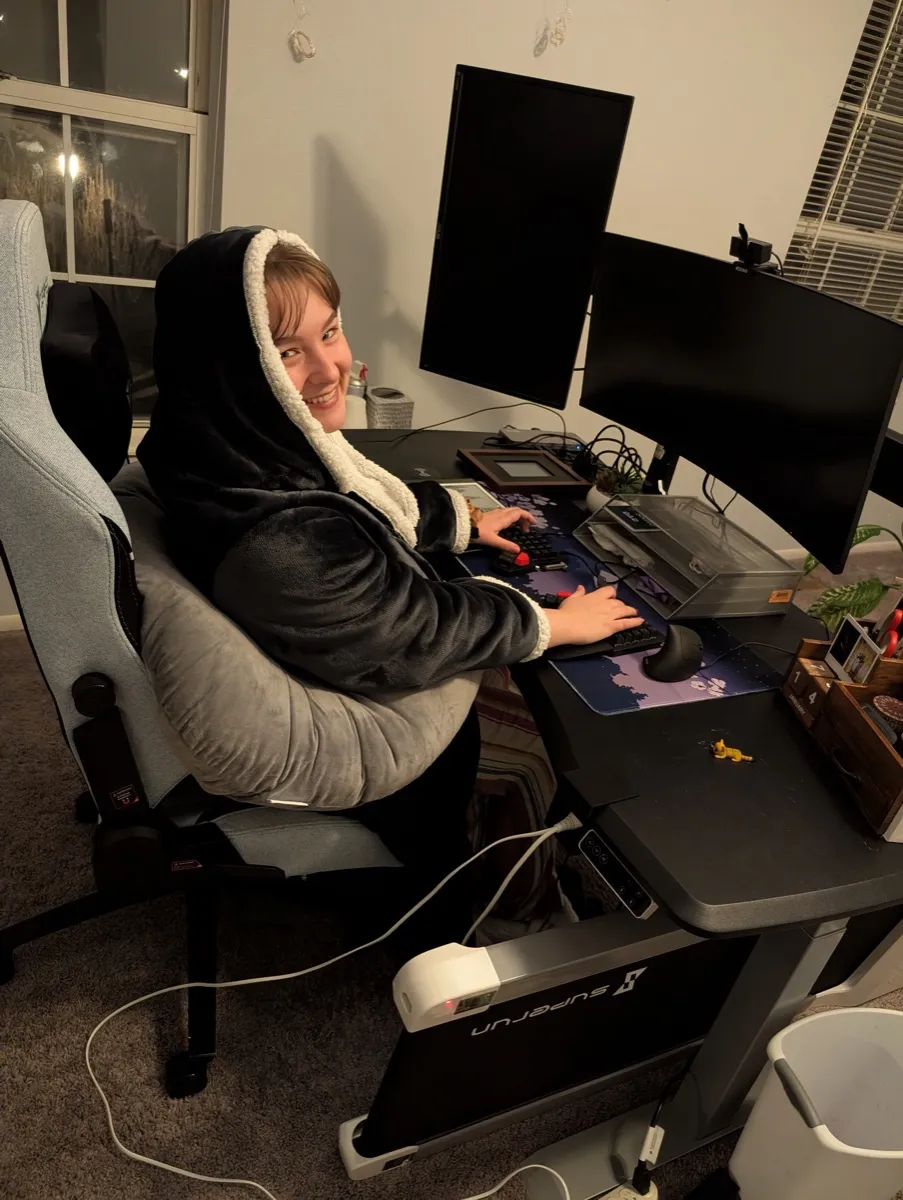
My wife recently bought this awesome heated blanket hoodie since her office is above the garage and gets a bit cold in the winter. It has this remote inline with the power cable, but since it’s attached near the feet, it naturally just ends up on the floor which is annoying. She mentioned how it’d be nice to have something attached to her desk to hold the remote. So I whipped out my calipers and got to measuring.
The Model
I was able to make this model based off my measurements fairly easily using digital calipers. TinkerCAD makes it straightforward to just drag and drop boxes, resize them, and cut holes where you need them. The trickiest part for me was remembering to account for wall thickness - you’re not modeling based off the measurements of the thing exactly, you’re modeling around it, so you need to add a few millimeters everywhere.
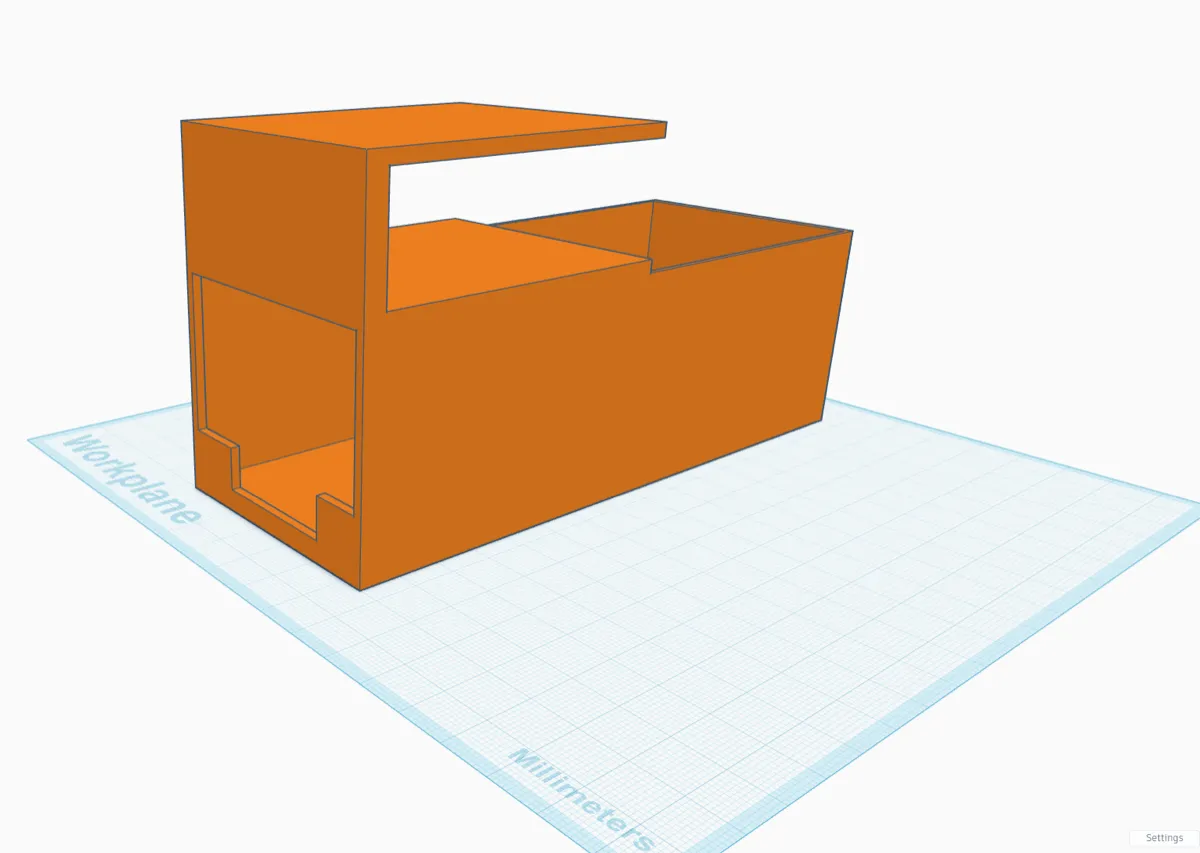
The design is pretty simple: a box to hold the remote, with a clip that hooks over the edge of the desk. I added a little shelf on top of the box too which I think helps keep it more secure. I added little backstops to the front which in hindsight I could have made a bit taller to keep it from sliding out.
The Print
It ended up being a 4 hour print. A lot of that time was due to the tree supports - since the clip part overhangs, the printer needs something to build on. I’ve seen people use cool hexagon infill patterns that use less plastic while also looking awesome and being super strong, but I haven’t figured that out yet. For now, I just let the slicer do its thing with the default settings.
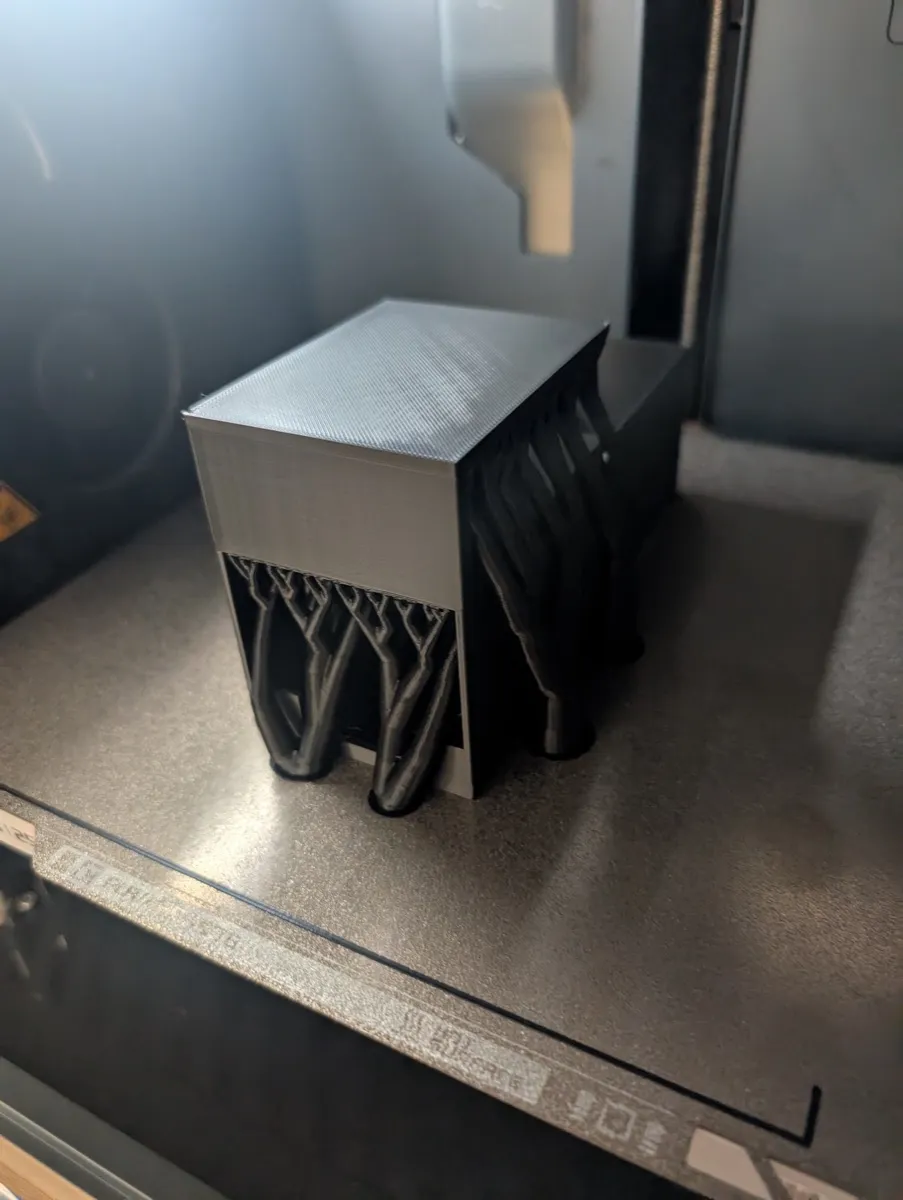
Removing the supports was pretty satisfying. They just snap off and leave a pretty clean surface. Not perfect, but definitely good enough for something that’s going to live under a desk. I need to learn if there’s a way to make those surfaces smoother. Either by using another filament type where they join, or some other settings.
The Result
It fits! The remote slides in snugly enough, the clip holds onto the desk firmly after I added some silicon nubs to grip better, and Ellie can conveniently get and store the remote now without fishing around on the floor. There’s something really satisfying about identifying a small annoyance, designing a solution, and being able to bring it into the real world.
There’s definitely room for improvement, like figuring out how to measure the lip of the desk, making it a bit tighter, maybe using a screw in clamp to add more strength, but I solved a problem, and can make those improvements when they’re needed!
Links
- Calipers - essential for measuring things accurately
- Silicone Nubs - Great to add grip to prints that interact with other surfaces
- The blanket hoodie - seriously cozy
- TinkerCAD - free and beginner friendly, all browser based
Comments
Powered by Giscus (may need to disable adblockers)